Easy Ceiling is the only UK based manufacturer of stretch ceilings. We manufacture, supply and install stretch ceilings all over the UK so we like to think we know a thing or two about stretch ceiling installation.
In our ‘10 Easy steps’ guide to installing a stretch ceiling we summarise the benefits of a stretch ceiling versus other ceiling options, the different design options available, and then the key stages involved in the installation process.
We have also made a stretch ceiling installation video. Head straight to the bottom of this page to watch it.
1. Decide to use a stretch ceiling
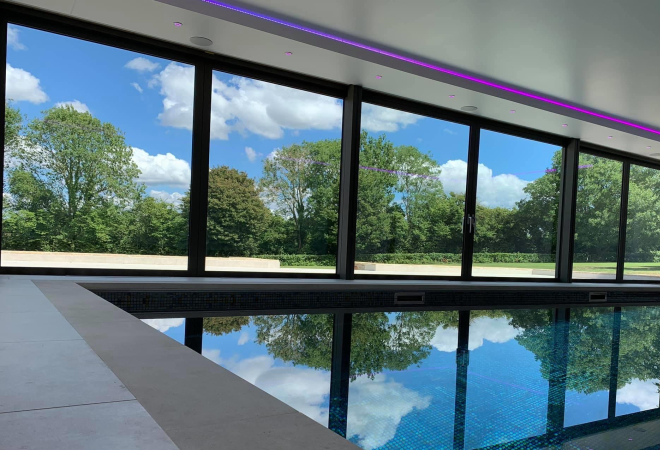
Easy ceiling is a stretch ceiling manufacturer, supplier and installer, but we have to be honest there are certain circumstances where a stretch ceiling might not be the best option. Not many circumstances though! The core advantages of stretch ceilings are they can be installed far more rapidly than other ceiling options (see our stretch ceiling price comparison table) they are easy and low cost to maintain, and they come in a range of finishes, including printed ceilings! They are also very durable, safe and reliable. For all these reasons they are a very popular choice for medical, educational and health and leisure interiors such as bars, restaurants, swimming pools and gyms.
2. Choose your fabric
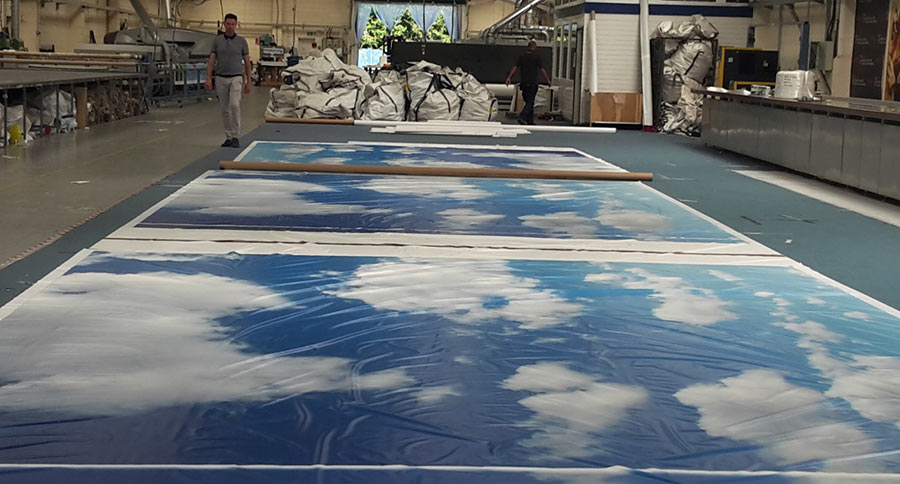
So you’ve made the wise decision to go stretch, but what fabric and colour do you want? Gloss, satin or matt finish? Translucent or shaped? Or perhaps you want to print your favourite image or company logo on your ceiling? Check out stretch ceiling design options here.
3. Choose your supplier
Once you’ve chosen your design you need to choose a supplier. Easy Ceiling guarantees the lowest prices on the market and we are in the unique position to offer a full-service; from manufacture of your fabric to the final install and aftercare. But we still advise you to get quotes from a range of suppliers and chose the right supplier for you.
4. Prepare the room
If you normally plaster your ceiling you’re going to love this step. The room does not need to be completely cleared. You might need to make a bit of space but apart from that no preparation of the room is required. You can more or less start the install instantly!
5. Attach aluminium track
Your stretch ceiling is attached to your room via an aluminium track which is fitted to all four walls. If the ceiling is to cover a large space, aluminium tracks will need to be fitted at intervals across the ceiling to join panels of fabric.
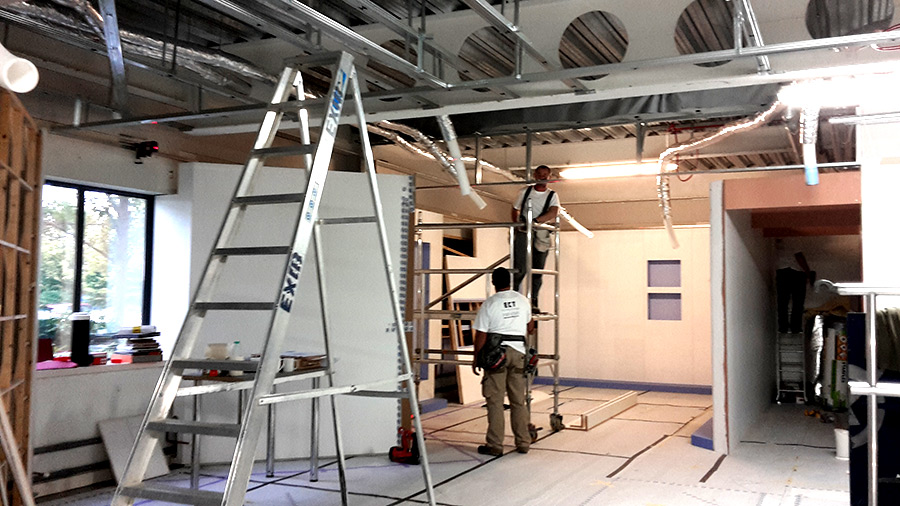
6. Set light fixtures and other systems above the ceiling
Attach platforms for light fixtures or other systems (e.g. smoke alarms) to the original ceiling. Adjust the height of the platform so it is easy to pull relevant fixtures like lights though the ceiling and fit in place.
7. Heat the room
In order to stretch the ceiling fabric into place you need to use heat to increase its elasticity. We do this using portable gas heaters.
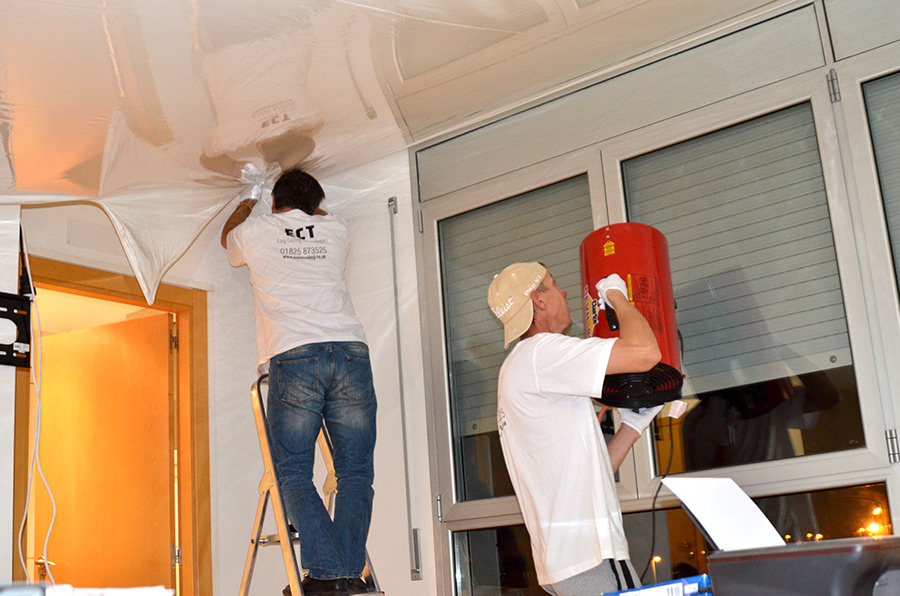
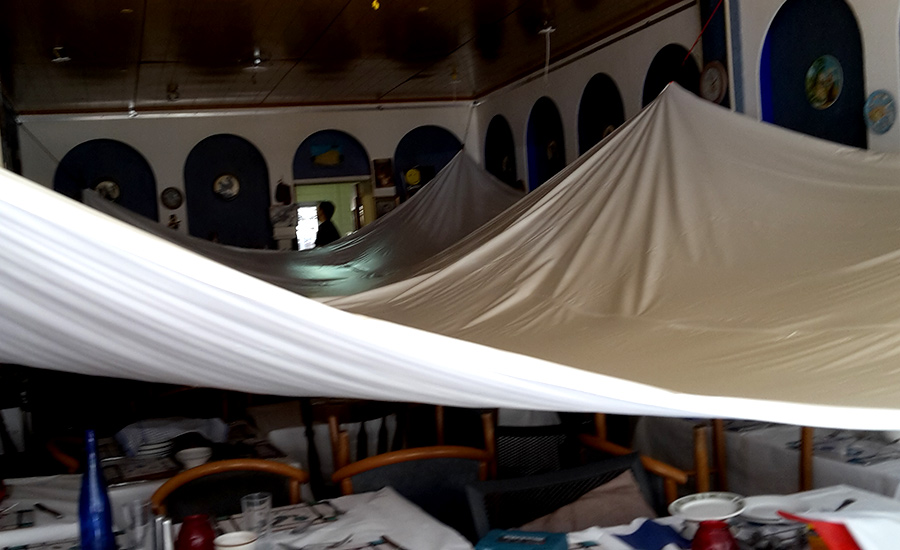
8. Attach the ceiling
Once the room is at approximately 40 degrees celsius the stretch ceiling reaches its optimum elasticity and can be stretched and fitted into place. When the temperature returns to normal, the canvas strengthens and tightens back to its original form.
9. Pull through fixtures and fittings
Strengthening rings are glued to the canvas and then cut inside to make holes for light fixtures and other systems. Fixtures are connected to cables, pulled through the holes and then the springs to the fixture platforms above the canvas are engaged.
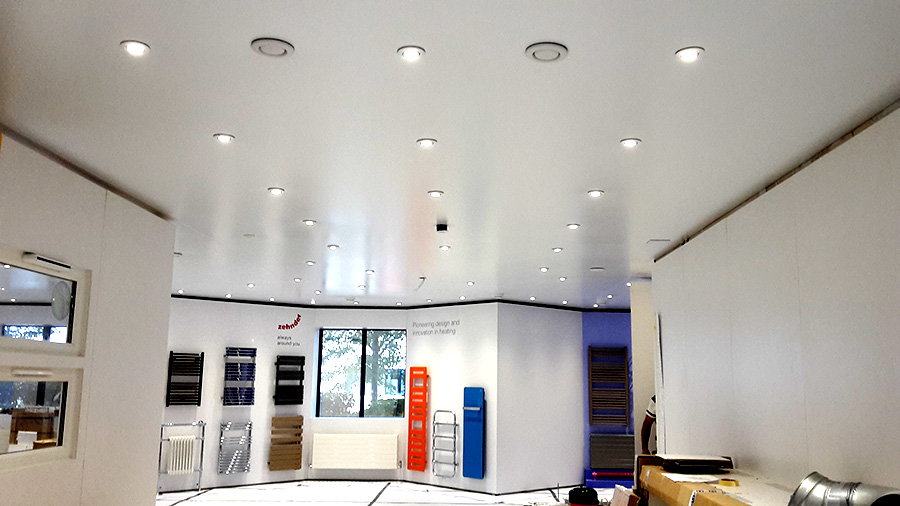
10. Final cleaning
Any handprints or marks on the ceiling canvas are removed with a damp cloth. Your stretch ceiling is now installed!
Hopefully you now know the basic steps to installing a Stretch Ceiling? We can always do the job for you – please get in touch. We’re always interested to hear from people who might want to join our network of installers too. Free training is provided!